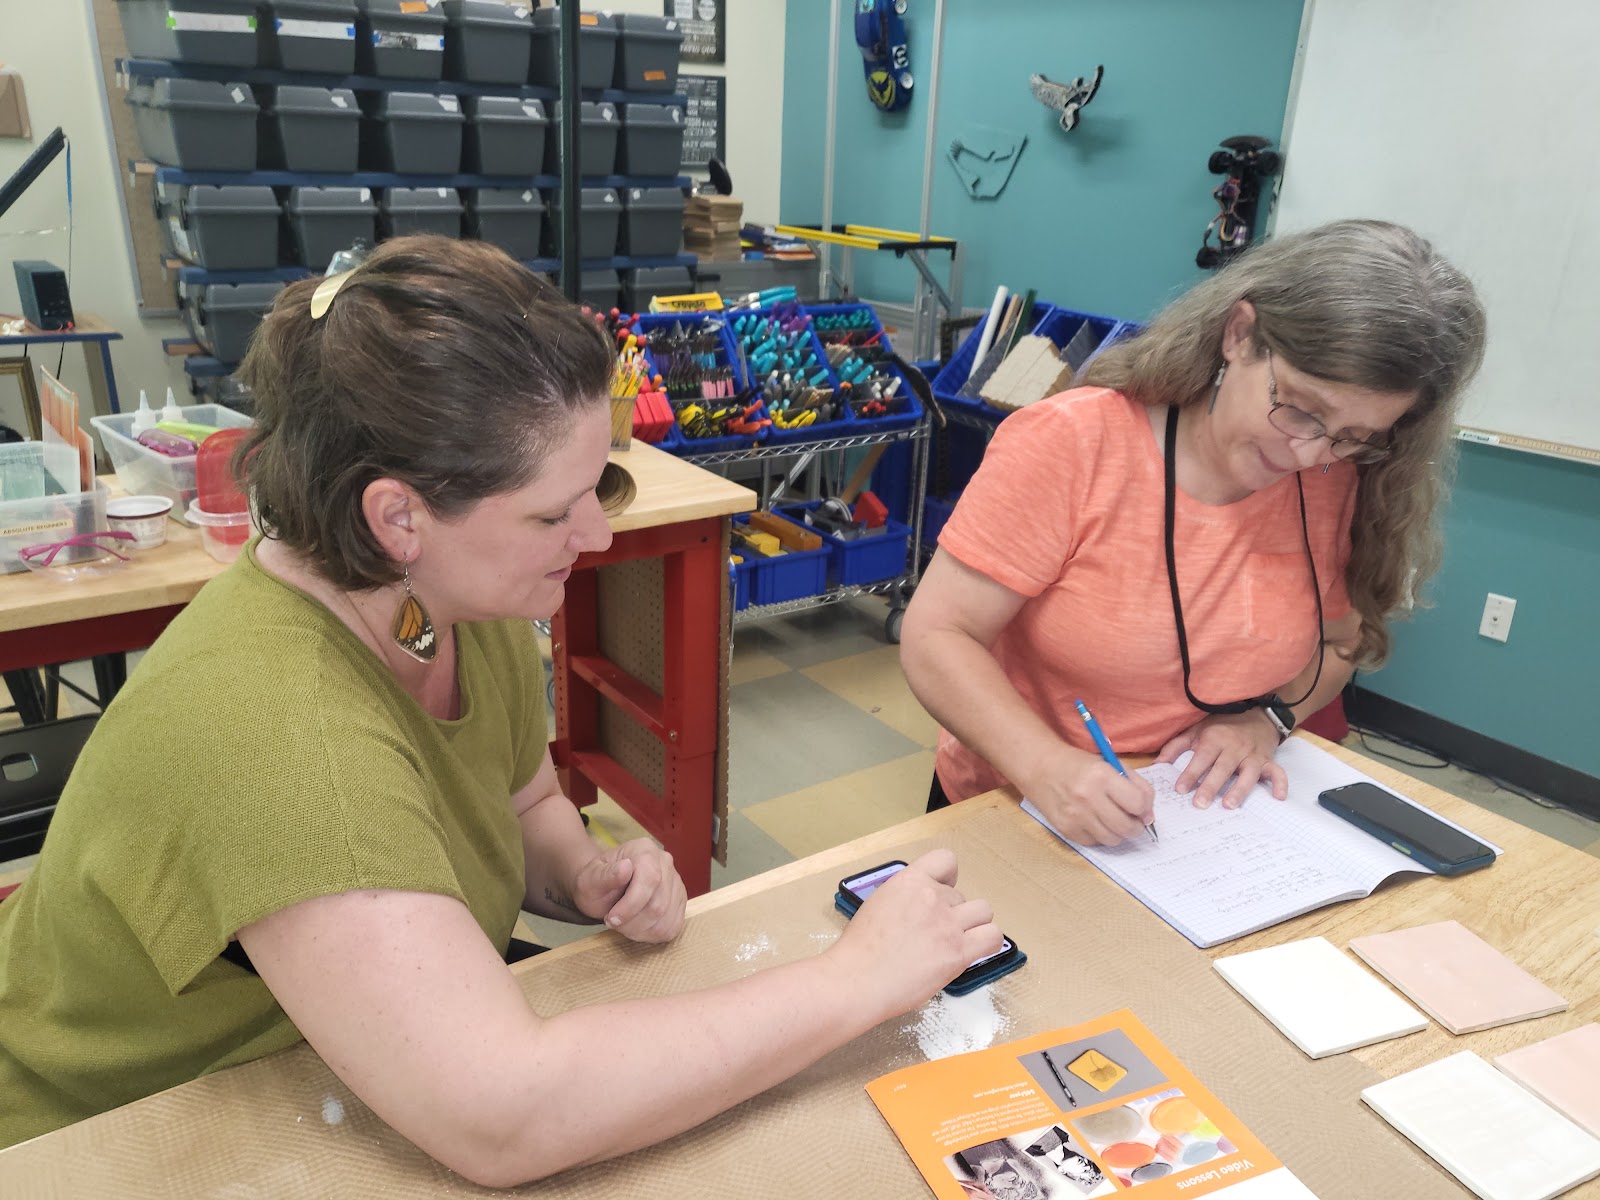
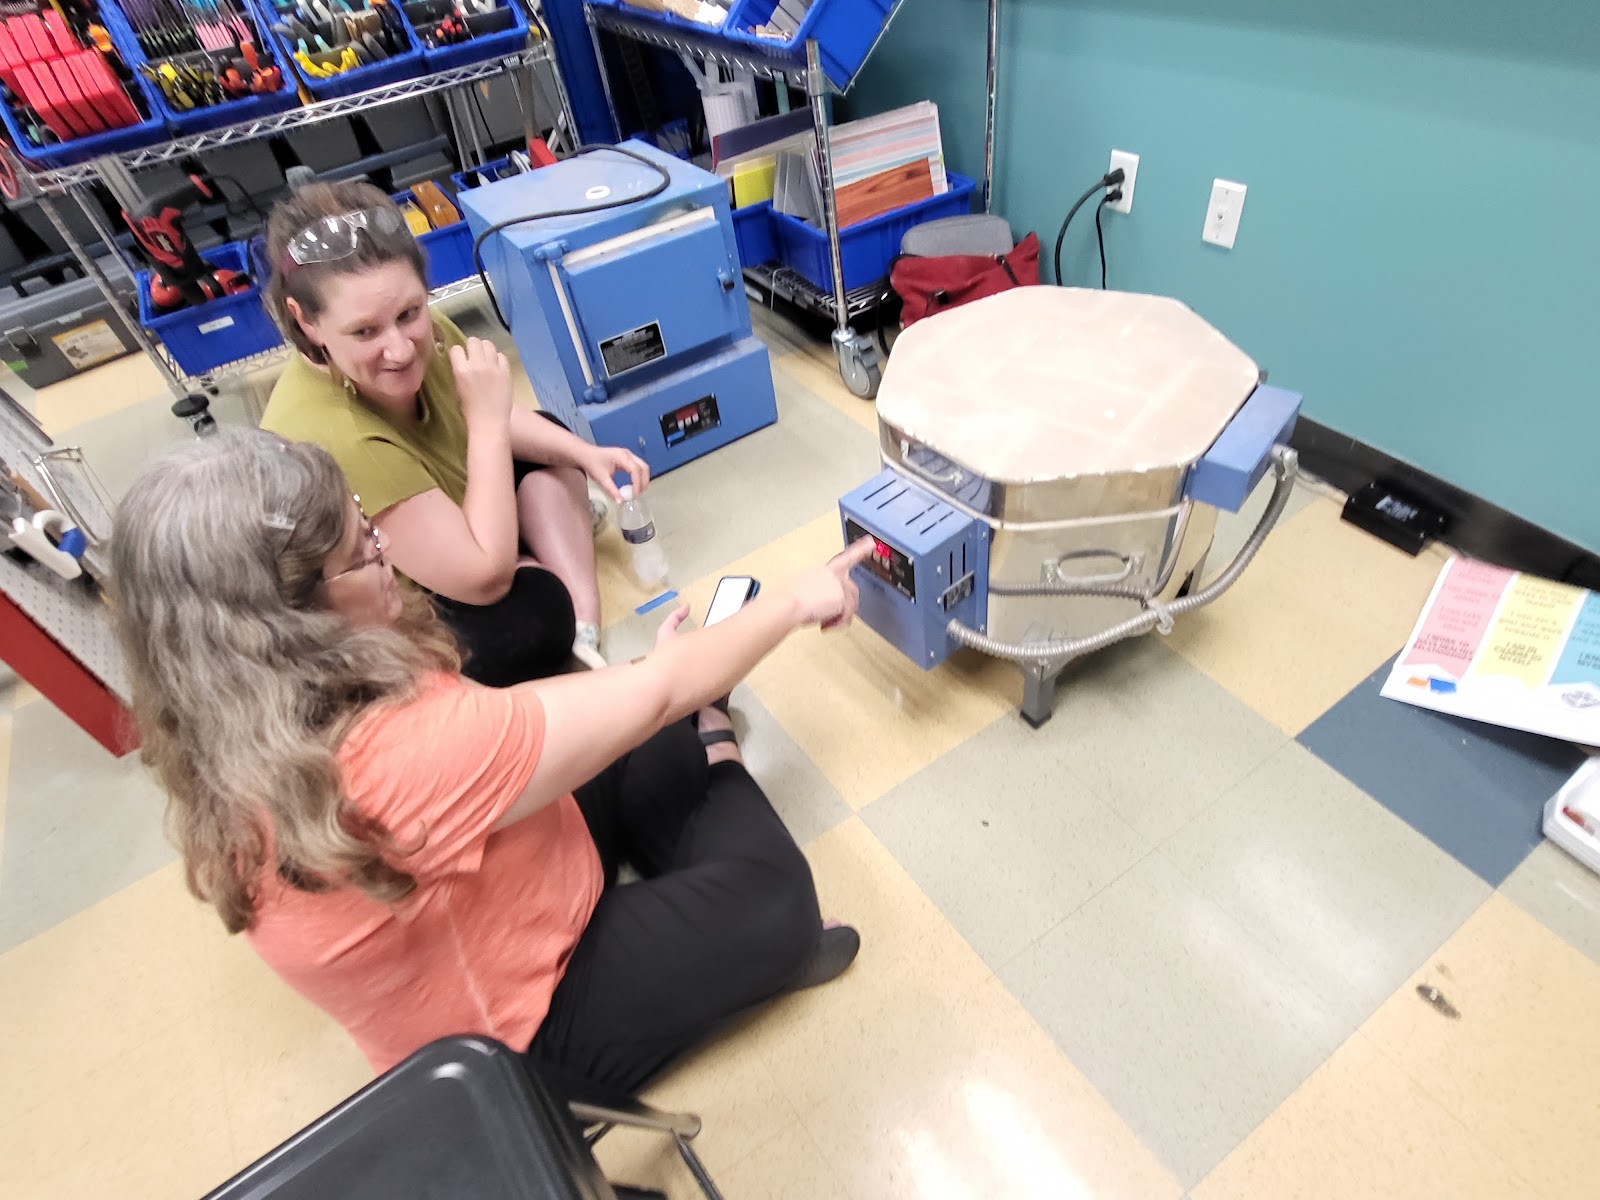
It’s fun learning new things. Sometimes I forget just HOW much fun it can be! My school, ACE Academy, has a wonderful Makerspace, and I had the opportunity to experience a beginner glass fusing class there a few weeks ago. Kristine Shafer, from Helios Fused Glass Studio, came to share her expertise and teach us how to use our new glass kiln.
I’m a quick study, but it was still amazing how many details I absorbed while digging into this new experience! Kristine said that she normally does a beginner class over a few weeks, so I got a real crash course to just get the overall experience.
Right from the start, it was clear I would need a beginner’s mindset. It’s easy to forget how much specialized vocabulary there is in any field when you’ve been in the same one (education for me) for almost thirty years. I learned the names for new tools, the names for different levels of fusing of glass, and even the acronym for the measure of how quickly glass types expand (COE: coefficient of expansion).
I’ll walk through the steps of what I did that afternoon, and “show off” my gloriously simple fused glass M, but the real lesson I learned was that learning itself is ENERGIZING. Jotting down notes and diagrams gave me an adrenaline rush. Flipping through Kristine’s catalogs and remembering connections between colors and chemicals I learned long ago in high school chemistry class was a hoot! Getting excited about how to share this energy with teachers and students is the reason I went into education in the first place.
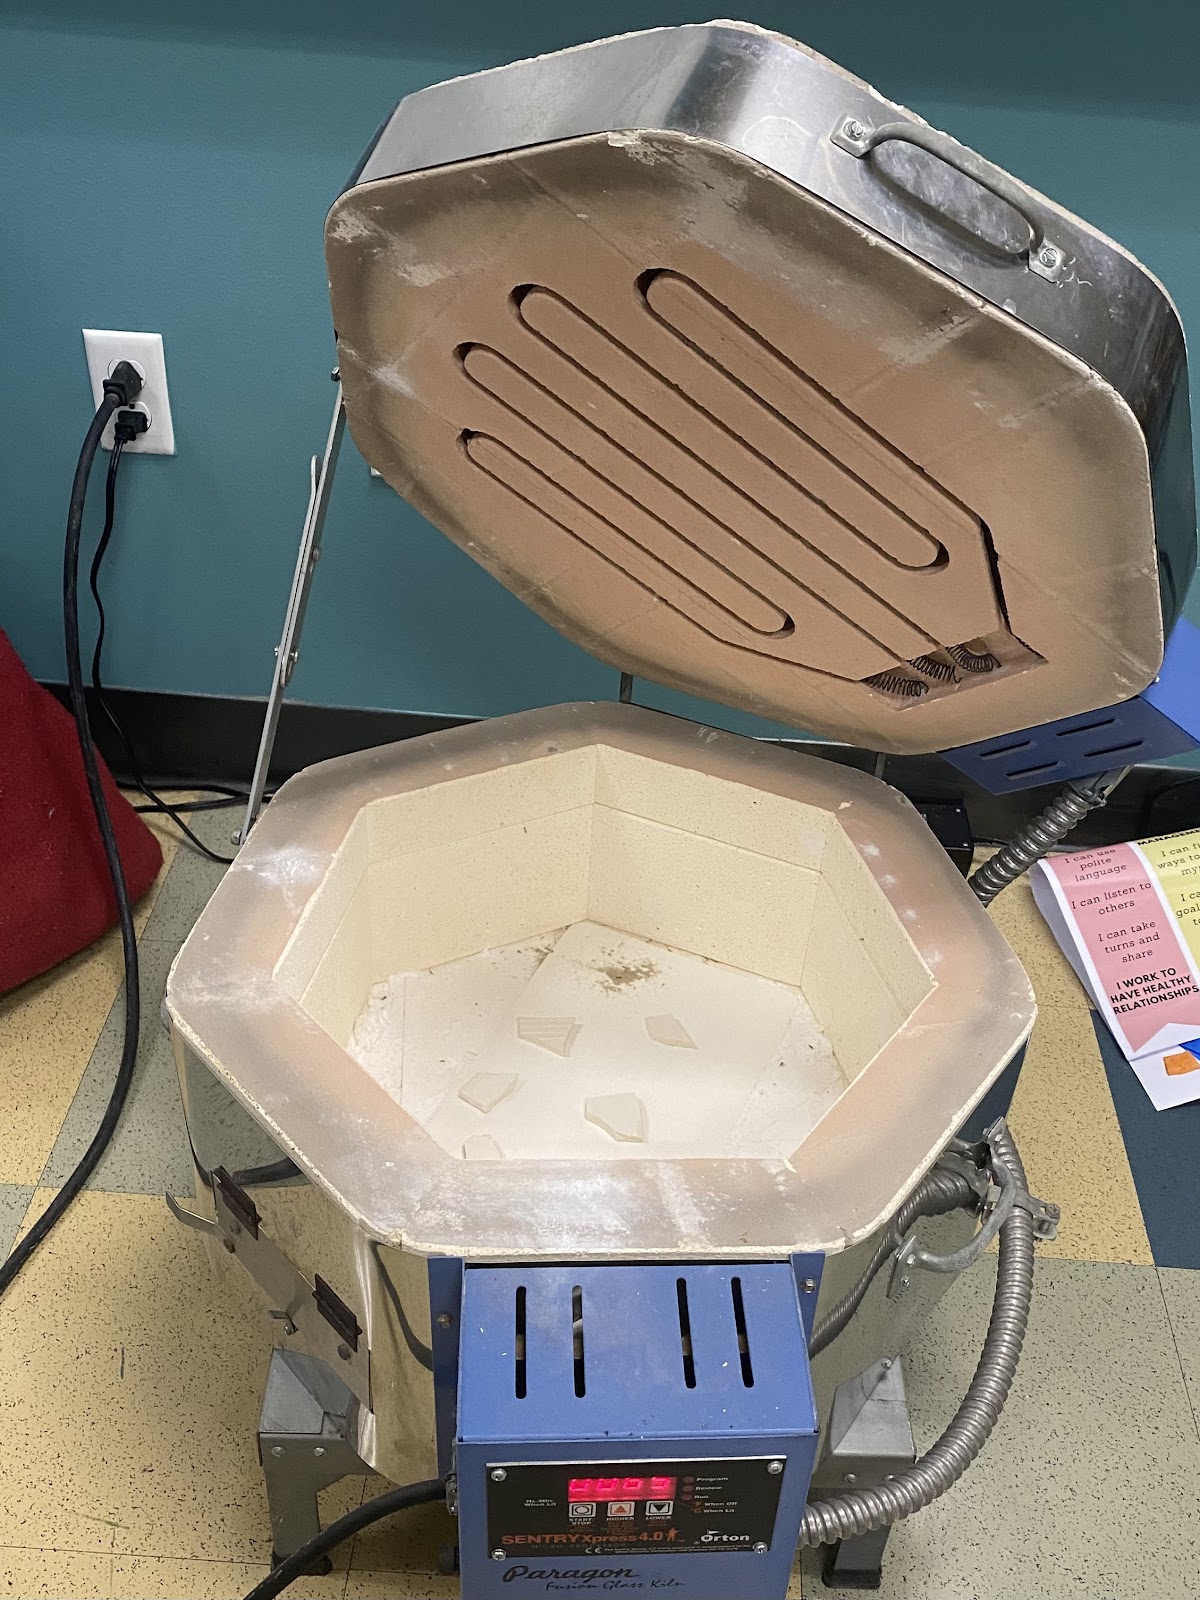
Kristine started me with the basics. We looked at the kilns, decided on how to set up the shelves inside, and reviewed the need for air circulation under the kiln shelves to make sure pieces heat up evenly. She reminded me several times that glass will stick to the ceramic, so it’s vitally important to have a “glass separator” between your project and the ceramic tile. We used “kiln wash”, but there is also something called “fiber paper”.
Next we talked about some types of glass. She recommended we begin with “float glass”, which is not tempered and is easy to obtain and up-cycle. Lots of small glass frames have this type of glass in them, so we can grab that from thrift stores inexpensively. She said we can also try using bottle glass, another great up-cycling option. The drawback is that different types of bottles have different COEs, so it will take some experimentation to figure out which ones can fuse together. There are lots of types of art glass we could buy - with GLORIOUS colors - but each brand has a different COE! Kristine’s recommendation was to keep all glasses of the same type grouped and labeled together. If you buy art glass at a craft store - you have to keep “like with like” as well. Different brands have different COEs and they will not fuse together well if they aren’t the same COE! You can also get glass powder, called frit, which comes in different consistencies. I’m betting we’ll stick with float glass at first. She let me know that we can paint it with Thompson’s enamel so we aren’t just stuck with plain clear glass, even as beginners.
There’s no art without tools - so Kristine had me practice using some of the tools she uses to break glass into the shapes and sizes we want. Always be sure to protect your eyes! We wore safety glasses.
.jpg) |
| running pliers - used to break the glass along the score made by the hand cutter. |
.jpg) |
| hand cutter - used to score the glass |
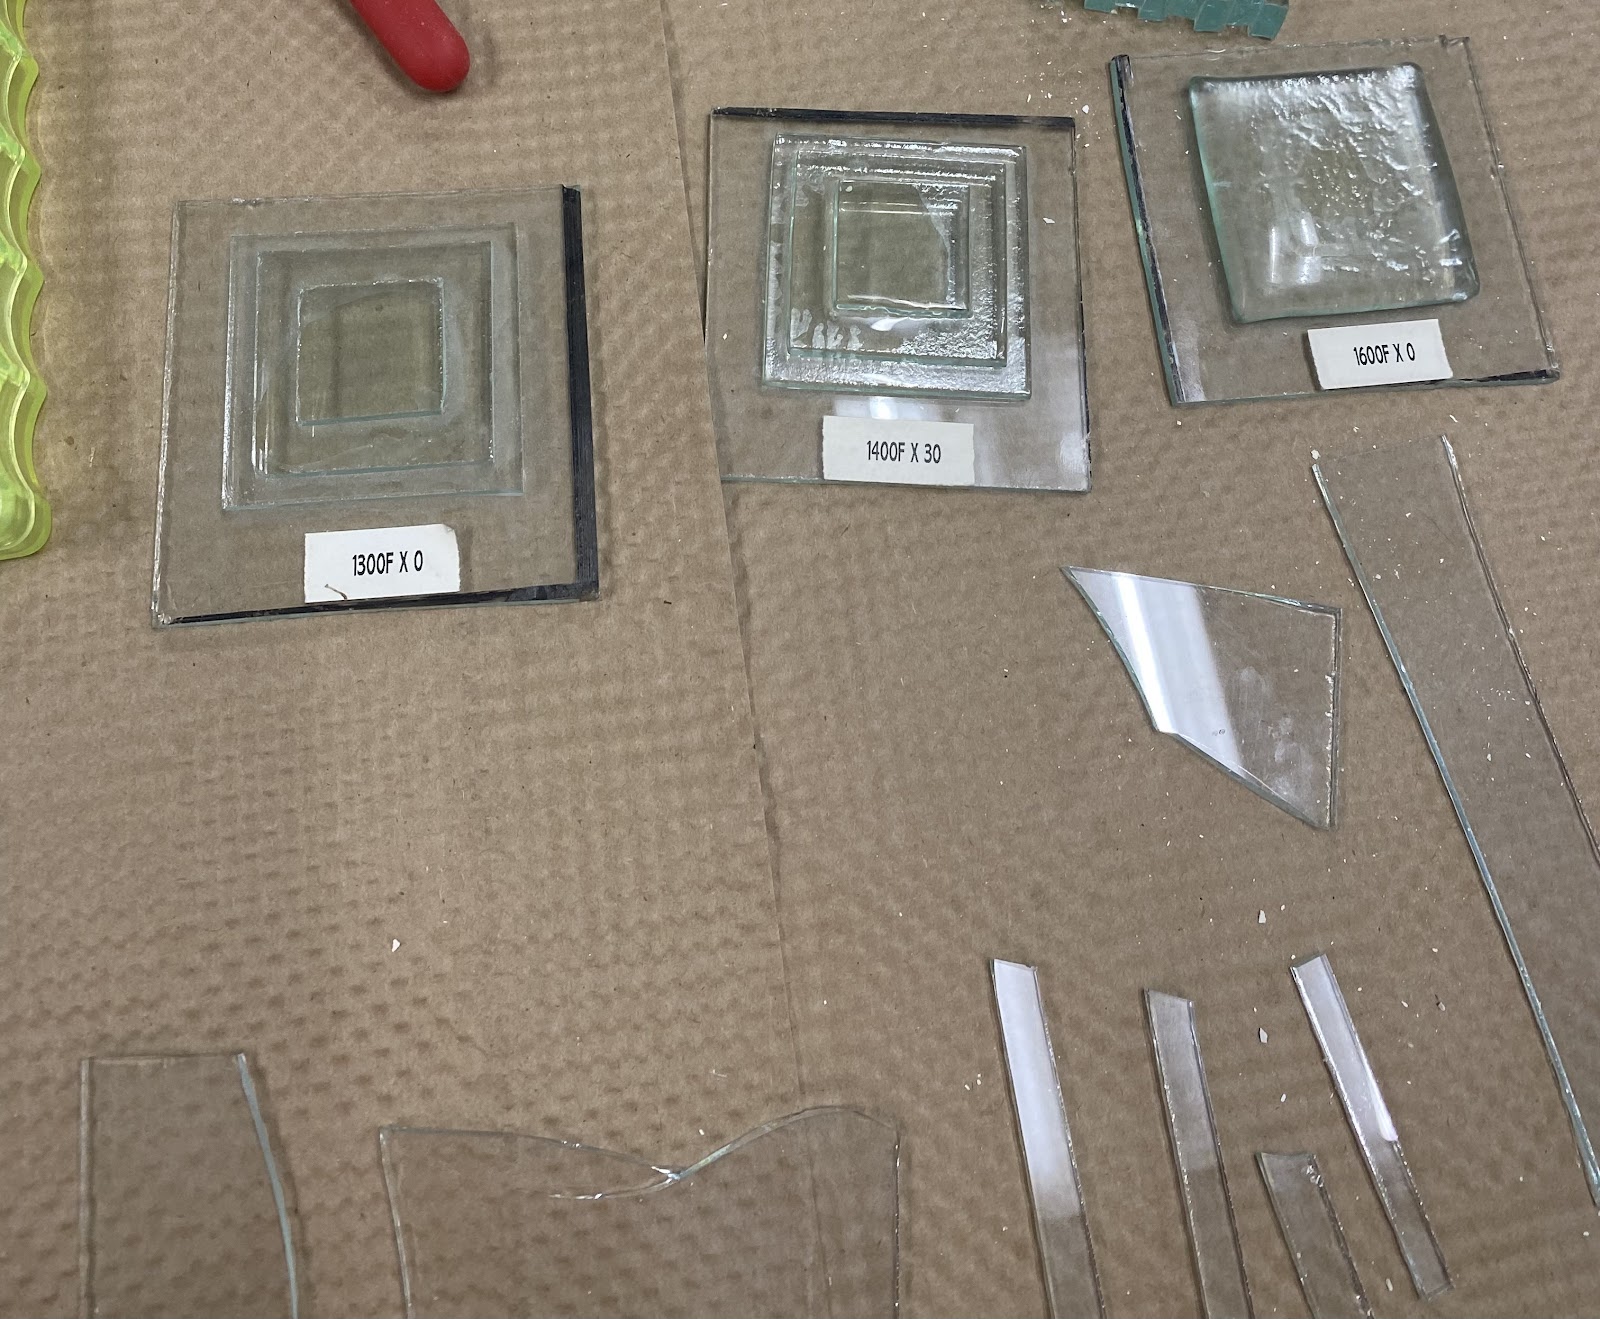
Kristine then walked me through the different types of fuses - based on how hot you get the glass and how long you leave it at various temperatures along the way. The types of fuses are always the same, but the actual temperatures will vary depending on the COE of the glass you use.
Slump -- just hot enough that the glass will "slump" into a shape or "drape" over a shape.
.jpg)
Here are the steps I followed:
Set up your kiln in a safe location (have air circulation around it, someplace where no one will bump into it). Our kiln is as safe as an oven, so no special safety equipment is needed.
Be sure your kiln shelf is set up. You can use cracked up pieces of ceramic tile under the shelf to let air circulate for even heating. We used single ceramic tiles as our individual shelves for our pieces. This is a GREAT idea for students - as each student can put their piece onto their own tile.
Make sure your kiln shelf (or individual tiles) has glass separator on it. That can be fiber paper or kiln wash. We had a powder kiln wash that gets mixed in a 5:1 (water to wash) ratio. Great math connection here!
Now it’s time to create your piece. So many options - but be SURE all the glass you use in one piece has the same COE. Use your tools to break and snip and shape. Keep in mind all the things you’ve learned about how glass fuses and what you want yours to look like.
Place your pieces in the way you want them on your kiln tile (again remembering the kiln wash!)
Use glue to make sure it all sticks together as you move it to the kiln. The glue melts off at much lower temps, but it will make sure your piece survives the move.
Decide on your fusing type you want for your piece.
Look up a fusing schedule for your TYPE of glass and the level of fuse you are looking for. Kristine recommends https://glasswithapast.com/ for schedules and lots of project ideas.
Set the fusing schedule into your kiln – be careful and accurate. There are a lot of steps and having each one set right is important!
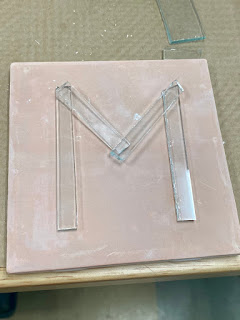 |
| Before firing |
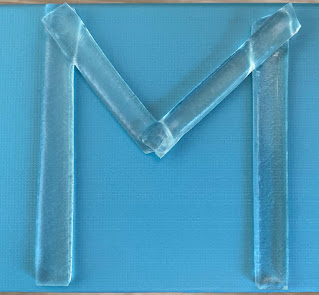 |
| After firing |


